

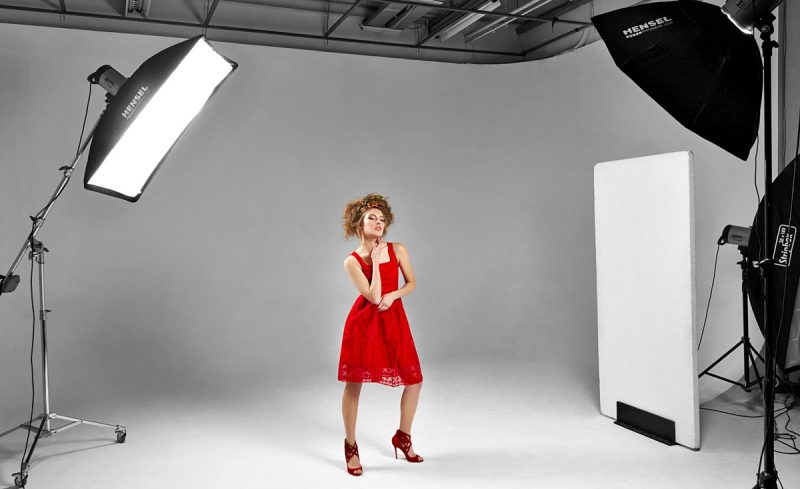
Lighting is a crucial element in model photography, influencing the mood, clarity, and overall impact of the images. Whether you’re working with natural light or studio equipment, mastering various lighting setups can dramatically enhance your photos. Here’s a detailed guide to the top ten lighting setups for model photography, covering a range of techniques from natural light to studio arrangements.
1. Natural Light
Natural light is one of the most accessible and versatile lighting sources. To use natural light effectively, position your model near a window where soft, diffused light can illuminate them. The ideal time for natural light photography is during the “golden hour,” shortly after sunrise or before sunset, when the light is warm and flattering. For more control, use sheer curtains to diffuse the light and reduce harsh shadows.
2. Rembrandt Lighting
Rembrandt lighting is named after the famous painter known for his dramatic use of light. This setup involves placing the light source at a 45-degree angle from the model and slightly above their eye level. The result is a characteristic triangular highlight under the model’s eye on the shadow side of the face. This technique adds depth and dimension, making it a favorite for portraits.
3. Butterfly Lighting
Butterfly lighting, also known as Paramount lighting, creates a distinctive butterfly-shaped shadow under the model’s nose. To achieve this effect, position the light source directly in front and above the model, aiming it downward. This setup is ideal for highlighting facial features and is commonly used in beauty and glamour photography.
4. Split Lighting
Split lighting divides the model’s face into two distinct halves, with one side illuminated and the other in shadow. Place the light source at a 90-degree angle to the model’s face, creating a dramatic and edgy look. This setup is excellent for emphasizing facial structure and creating a moody atmosphere.
5. Loop Lighting
Loop lighting is characterized by a small loop-shaped shadow under the model’s nose. This setup involves placing the light source slightly above and in front of the model, but not directly in line with them. The result is a flattering light that adds dimension while maintaining a natural appearance, making it suitable for a wide range of portrait styles.
6. Broad Lighting
Broad lighting is a technique where the side of the model’s face closest to the camera is illuminated, while the far side remains in shadow. This setup is achieved by positioning the light source to the side of the model, which can make the face appear wider. It’s particularly useful for creating a more approachable and open look.
7. Short Lighting
Short lighting, in contrast to broad lighting, illuminates the side of the model’s face that is furthest from the camera, leaving the near side in shadow. This setup creates a slimming effect and is often used to add depth and contour to the model’s face. It’s ideal for creating a more dramatic and sculpted appearance.
8. Backlighting
Backlighting involves placing the light source behind the model, creating a glowing effect around the edges and emphasizing the model’s silhouette. This setup can produce stunning rim lights and highlights, often resulting in a dreamy or ethereal look. To avoid silhouette-only images, use a reflector or additional light source to illuminate the model’s front.
9. High Key Lighting
High key lighting aims to produce bright, evenly lit images with minimal shadows. This setup typically involves multiple light sources and reflectors to achieve a clean, white background with soft shadows. High key lighting is often used in fashion and commercial photography to create a fresh, upbeat atmosphere.
10. Low Key Lighting
Low key lighting creates a dramatic and moody effect by using a single light source and keeping the rest of the scene in shadow. Position the light source close to the model and at a low angle to produce strong contrasts and deep shadows. This setup is ideal for creating intense, dramatic portraits with a focus on texture and detail.
Each of these lighting setups offers unique advantages and can dramatically influence the outcome of your model photography. By experimenting with these techniques, you can find the perfect lighting to suit your style and vision, ultimately enhancing the quality and impact of your images.